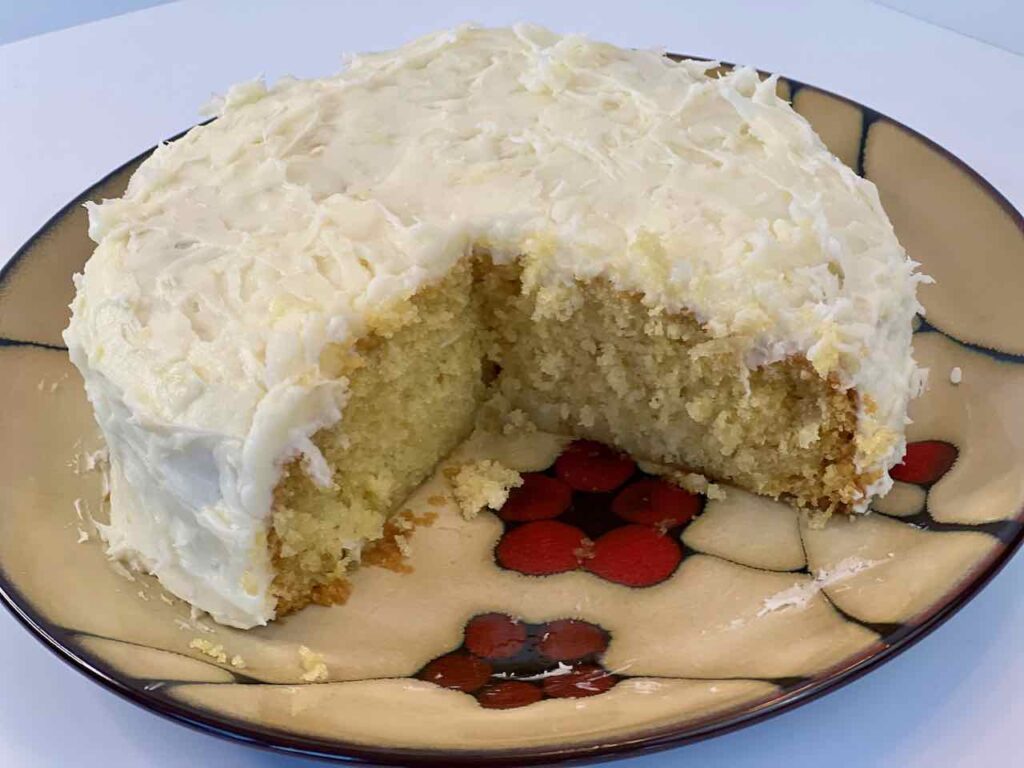
A small, sweet indulgent coconut cake topped with cream cheese frosting.
One of our favorite restaurant desserts is the luscious coconut cake at Crave restaurants in the Minneapolis area. This is the sort of dessert for which you save room when ordering a main course. Husband ordered it years ago and had me try it. I hesitated as I really wasn’t a fan of the taste, and certainly not the texture, of coconut. But try it I did, and it is sublime! The cake is three layers of pure deliciousness.
I pretty much had to try a small coconut cake at home. Ever since I made this little chocolate cake I have been looking for new varieties to try. I wasn’t going to try to copy or duplicate it, this is more of a homage to the perfect original.
The frosting on the cake at Crave is very light and fluffy. I decided for my version to adapt my basic cream cheese frosting recipe by adding coconut milk and coconut flakes. Both frostings, I have to say, are incredible.
We are celebrating our wedding anniversary this week, and this luscious little cake is definitely worthy of a celebration.
Ingredients
Butter: Butter adds richness to both the cake and the frosting.
Canola Oil: Gives richness and moisture while keeping the cake light.
Sugar: Gives the cake sweetness.
Vanilla Extract: Adds essential flavor to baked goods.
Egg: Adds richness and structure.
Flour, Salt & Baking Soda: The structure and leavening agents of the cake. Salt also brings out the flavor.
Sweetened Coconut Flakes: Found in the grocery store in the baking aisle.
Light Coconut Milk: Adds moisture and coconut flavor to both the cake and frosting. Coconut milk is available in the Asian food section. You can use the remainder of the can for Caribbean rice or sesame rice. If I am not using it in a few days, I empty the can into a glass or plastic container and freeze it for later use.
Cream Cheese: Along with the butter makes the frosting rich, indulgent, and scrumptious.
Powdered Sugar: Sweetens the frosting while allowing it to remain light and fluffy.

Instructions for the Cake
First thing, pull your butter, egg, and cream cheese from the refrigerator. Room temperature ingredients allow them to combine properly. The butter and egg should set out for two hours, and the cream cheese for preferably four hours to make it easier to mix the frosting.
Before you start mixing up the cake, preheat the oven and prep your pan. The best way to assure your cake will pop out of the pan is a piece of parchment paper at the base of the pan. I also give the pan a light coating of cooking spray.
Whip the butter, oil, and sugar until well blended and fluffy. Then beat in the egg and vanilla. Combine the dry ingredients with the coconut flakes and fold them into the wet mixture. Stir in the coconut milk.
Using a spatula, pour your cake batter into the prepared pan. Bake until a tester comes out clean.
Let the pan cool before removing the cake. I like to slide a butter knife around the edge of a cake to help assure myself the cake will come out of the pan.
Place a small plate over the pan and carefully invert the cake. Slowly pull the pan up and your little cake should be sitting on the plate intact. Remove the parchment paper.
Allow the cake to cool completely before frosting, as a warm cake will melt the frosting.
Instructions for the Frosting
When it is time to frost the cake, beat together the cream cheese and butter. I stir my small batches of frosting together by hand. Add vanilla, sugar, coconut milk, and cream until very smooth. Then stir in the coconut flakes. Alternatively, you could sprinkle part of the flakes over the cake, but I decided to just mix it in.
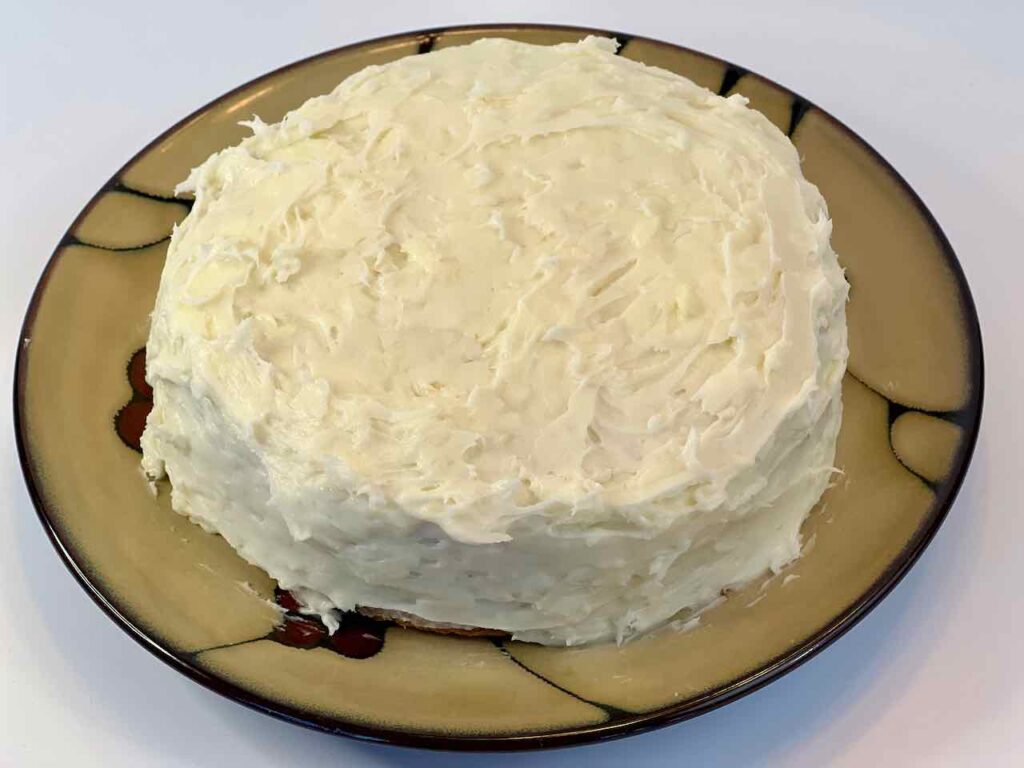
Using an offset spatula or a butter knife, spread the frosting over the cake.

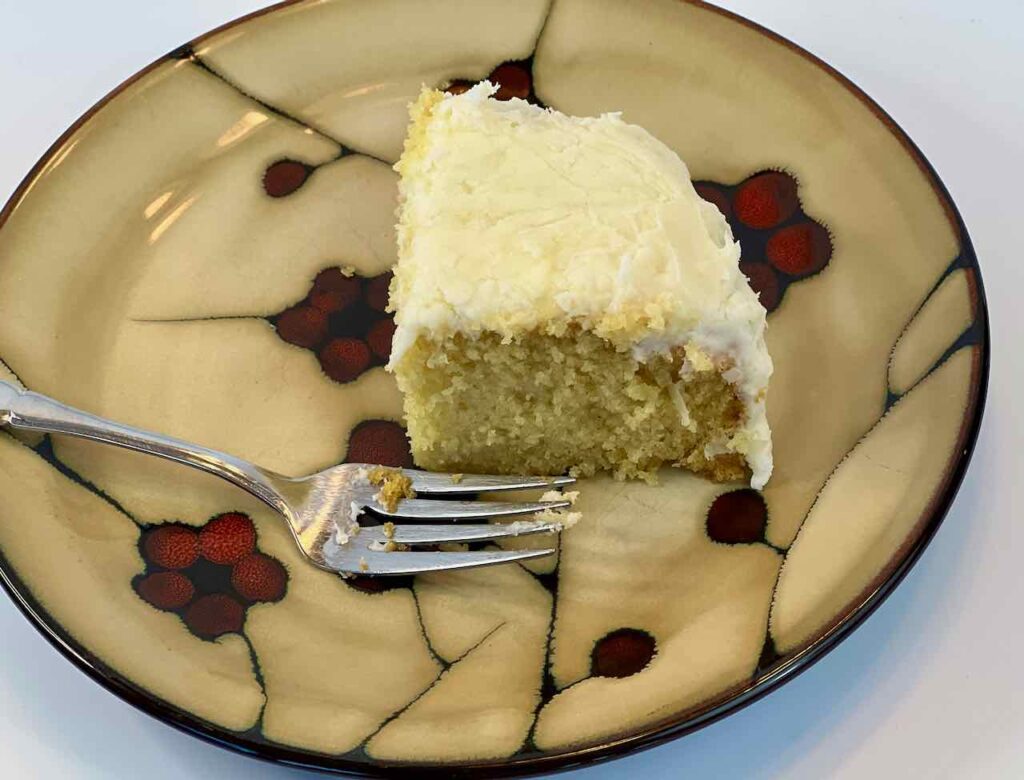
Cut yourself a slice and enjoy every bite. The little cake could be a treat for 2 or up to 4 people.
So if you love coconut or even just tolerate coconut, try this cake!
Small Coconut Cake
Ingredients
Cake
- 4 Tbsp butter softened
- 2 Tbsp canola oil
- ½ cup sugar
- ½ tsp vanilla extract
- 1 large egg room temperature
- ¾ cup all-purpose flour
- ⅛ tsp salt
- ½ tsp baking soda
- ½ cup sweetened coconut flakes
- ¼ cup canned light coconut milk
Frosting
- 2 ounces cream cheese softened
- 2 Tbsp butter room temperature
- ⅛ tsp vanilla extract
- 1½ cup powdered sugar
- 1 Tbsp light coconut milk
- ⅓ cup sweetened coconut flakes more or less, to taste
Instructions
- Preheat the oven to 350℉.
- Prep a 6-inch cake pan by lining the bottom of the pan with a round piece of parchment paper. Spray the sides of the pan lightly with cooking spray.
- Combine the butter, canola oil, and sugar in a medium bowl until fluffy.
- Add the vanilla extract and beat in the egg until combined.
- Combine the flour, salt, baking soda, and coconut flakes in a small bowl and stir into the wet ingredients until just combined. Then stir in the coconut milk until combined.
- When everything is mixed, spread into the prepared pan.
- Bake the cake for 35-38 minutes, or until it starts to pull away from the sides of the pan and a toothpick inserted into the center comes out clean.
- Let the cake cool in the pan until it is cool enough to touch. Once cooled, carefully tip upside down onto a plate. Carefully peel the parchment paper off the top of the cake. Allow the cake to cool completely before frosting, at least one hour.
- To make the frosting: Combine the softened cream cheese, butter, vanilla extract, and powdered sugar in a medium bowl. Beat with a spoon or use a hand mixer. Once combined, add the coconut milk and beat until the mixture is smooth. Stir in the coconut flakes. You could also sprinkle some coconut flakes on top of the frosting.
- Spread the frosting on the cake using an offset spatula. Refrigerate if not serving within a few hours. I like to put out for at least a half hour to allow the frosting to soften prior to serving.


One comment